How to Schedule NBI Clearance Appointment Latest Update
Schedule NBI Clearance Appointment : Scheduling an NBI Clearance appointment can seem daunting, especially if you’re a first-timer. But don’t worry! With the right information and a little bit of preparation, you can easily navigate the process. In this post, I’ll guide you through the steps you need to take, from understanding what NBI Clearance is, to scheduling your appointment, and everything in between.
What is an NBI Clearance?
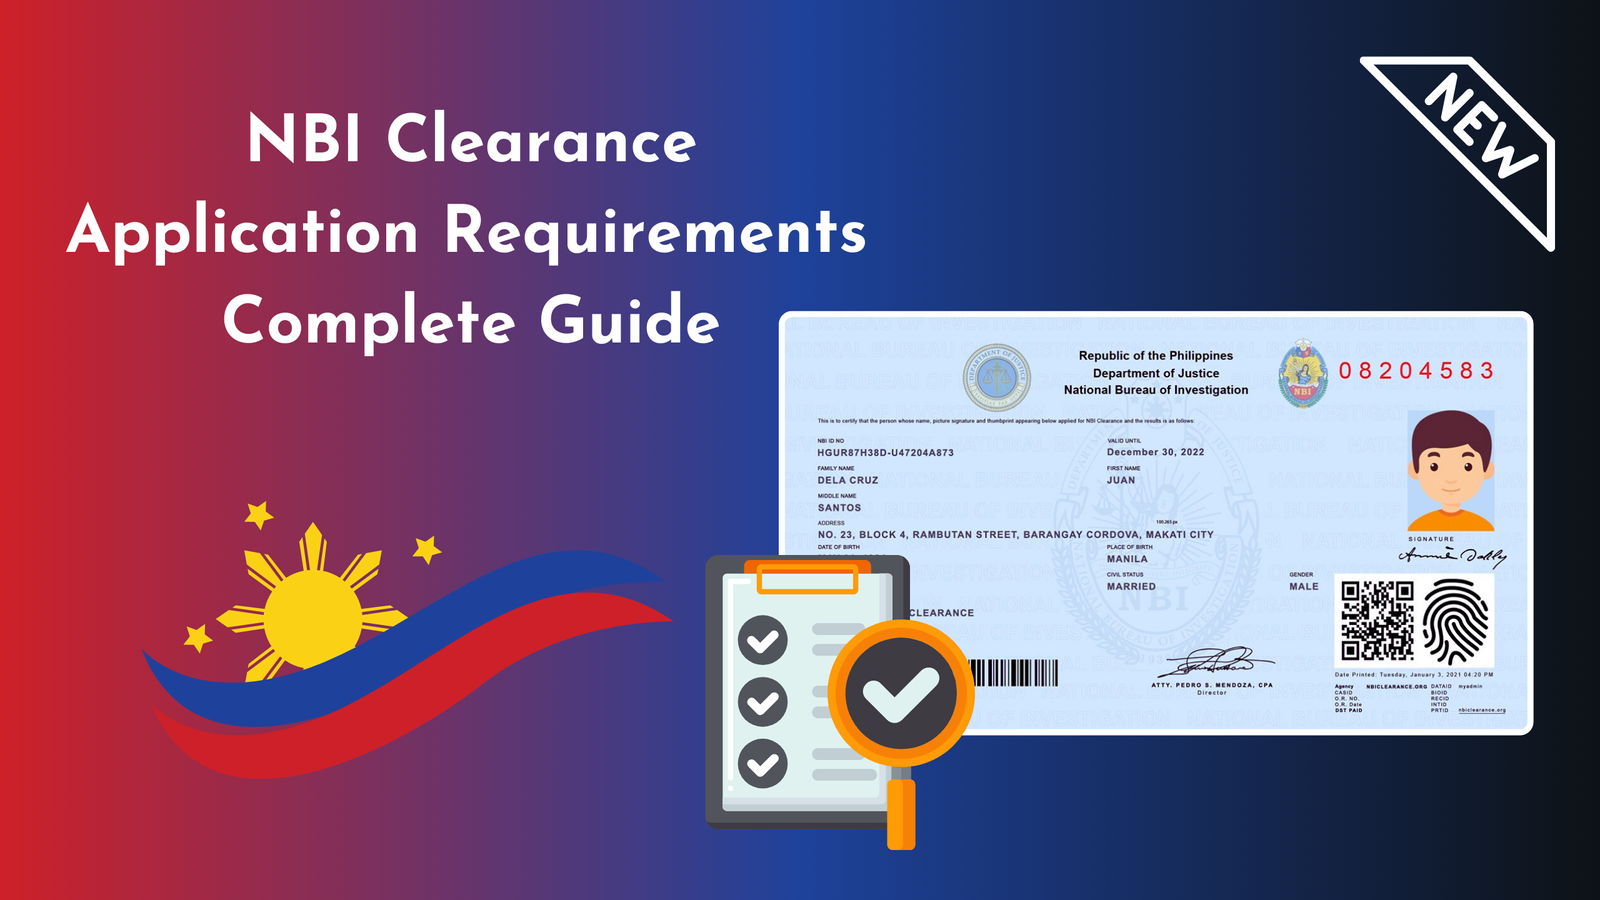
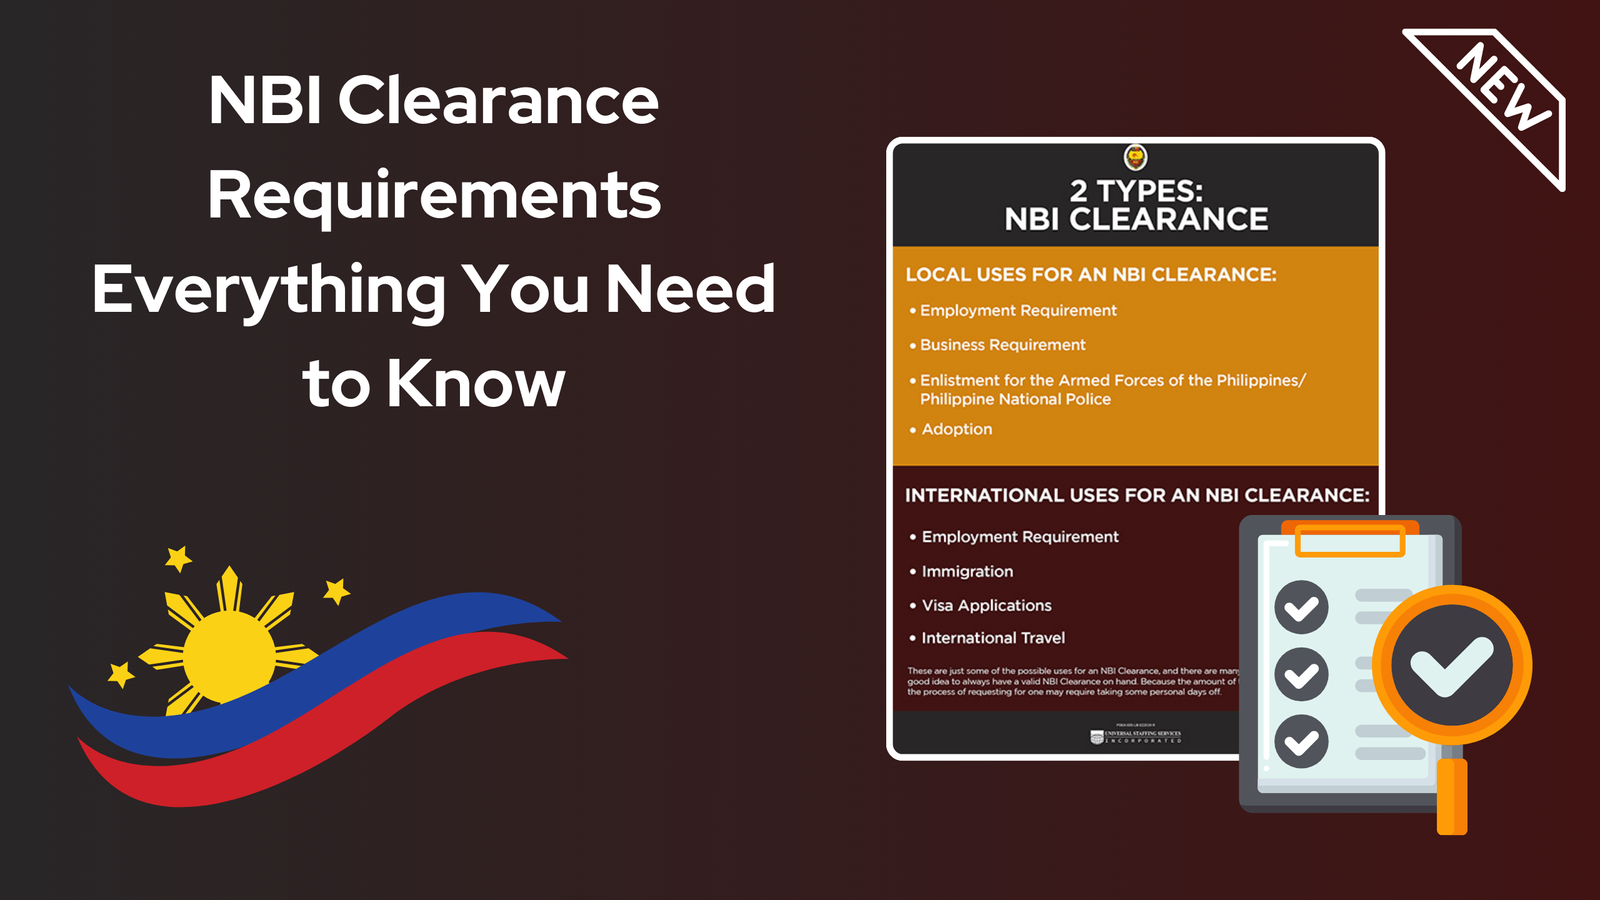
NBI Clearance is a document issued by the National Bureau of Investigation (NBI) in the Philippines. It serves as proof that the person holding the document has no pending criminal cases or records. It’s an important requirement for various transactions, such as employment (both local and overseas), visa applications, and other legal matters. Essentially, it’s a background check that certifies you have a clean slate in the eyes of the law.
Why Do You Schedule NBI Clearance Appointment?
NBI Clearance is often required when applying for jobs, both in the Philippines and abroad. Employers use it to ensure that you have no criminal records that might affect your job performance or suitability. Additionally, it’s needed when applying for a visa, securing certain government documents, and sometimes even when starting a business. In short, having an NBI Clearance shows that you’re legally fit and trustworthy for various responsibilities and opportunities.
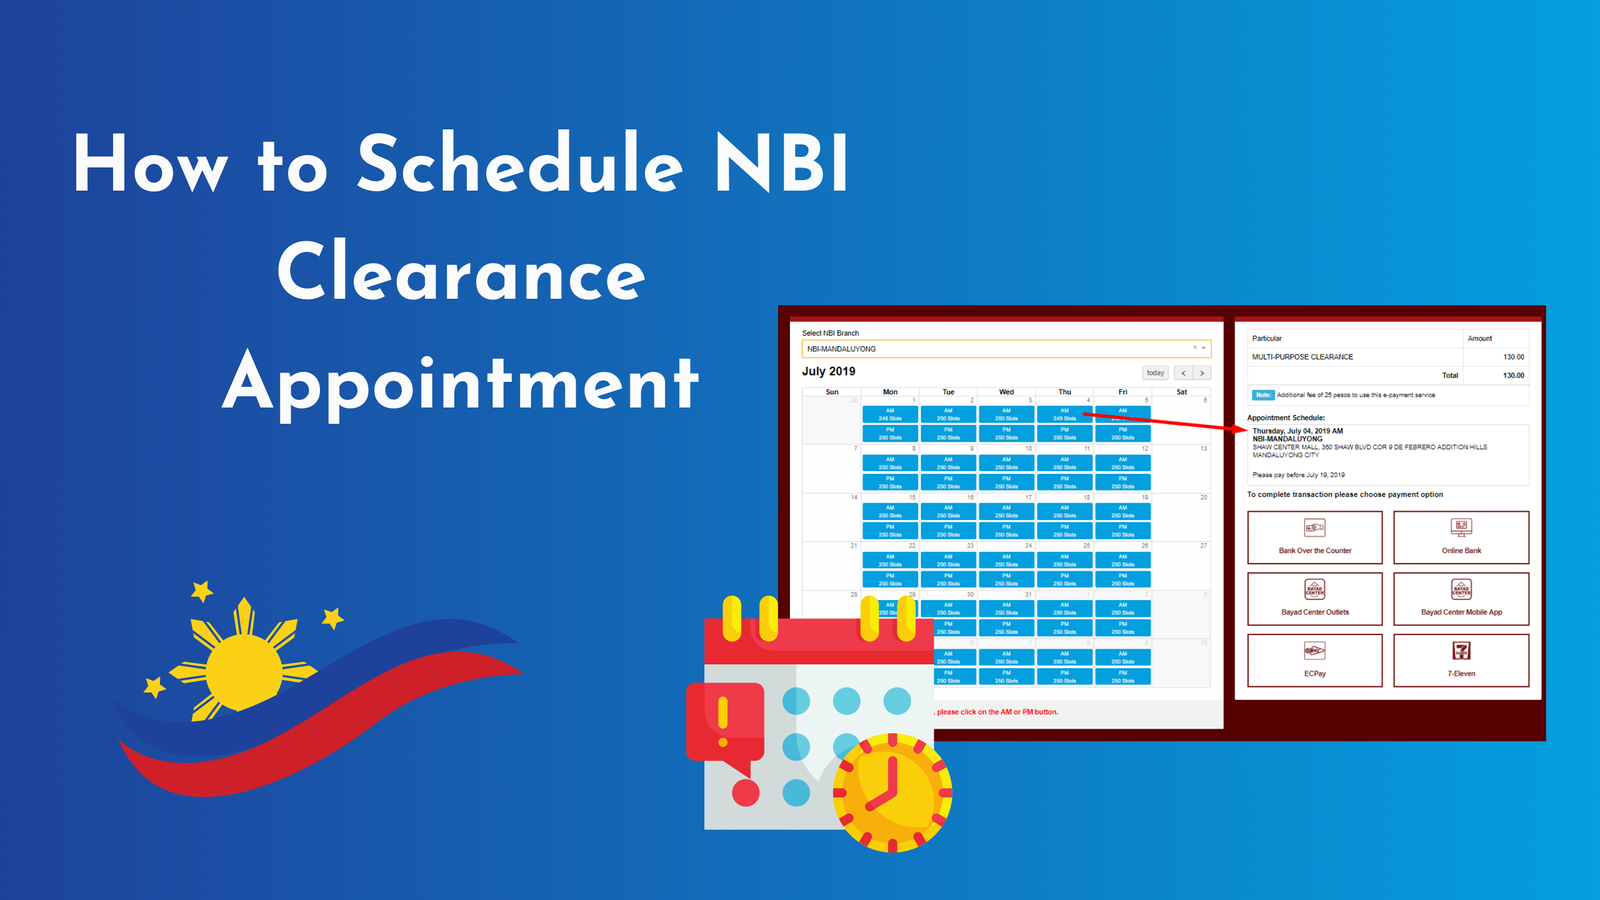
How to Schedule NBI Clearance Appointment?
Once your application and payment are complete, the next step is to schedule your NBI Clearance appointment. Here’s how:
- Log in to Your NBI Account: Use the account you created during the application process.
- Select Your Preferred NBI Branch: Choose the NBI branch where you want to process your clearance. It’s best to pick a location that’s convenient for you.
- Choose a Date and Time: Available dates and time slots will be displayed. Pick a date and time that fits your schedule.

- Confirm Your Appointment: Review all the details, and once you’re sure everything is correct, confirm your appointment.
- Print Your Appointment Details: It’s important to print or screenshot your appointment confirmation. You’ll need this when you visit the NBI office.
Also Check :
How to Apply for an NBI Clearance?
Especially now that much of the process can be done online. Here’s a quick overview of how to apply:
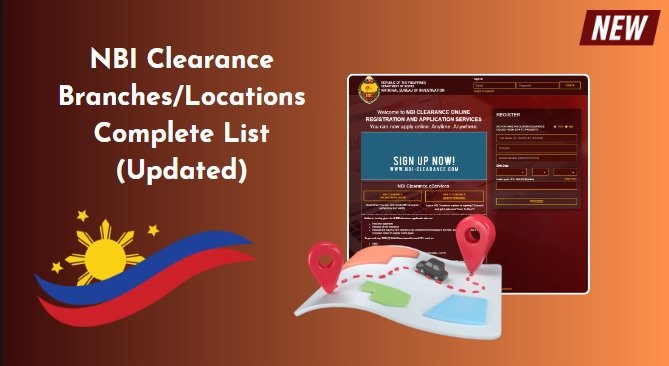
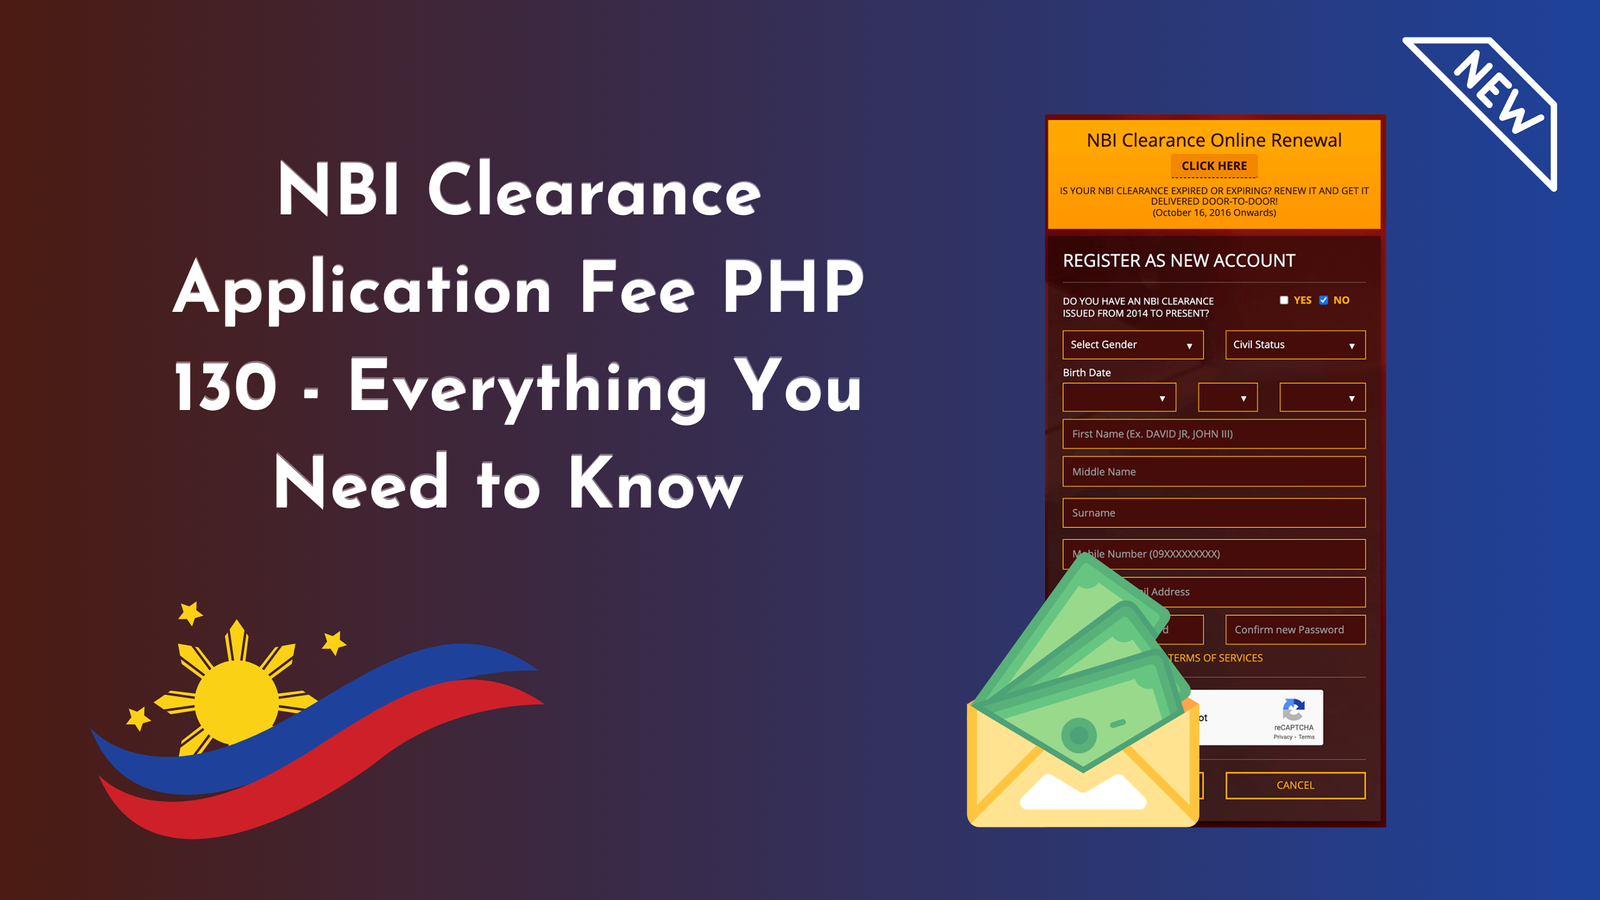
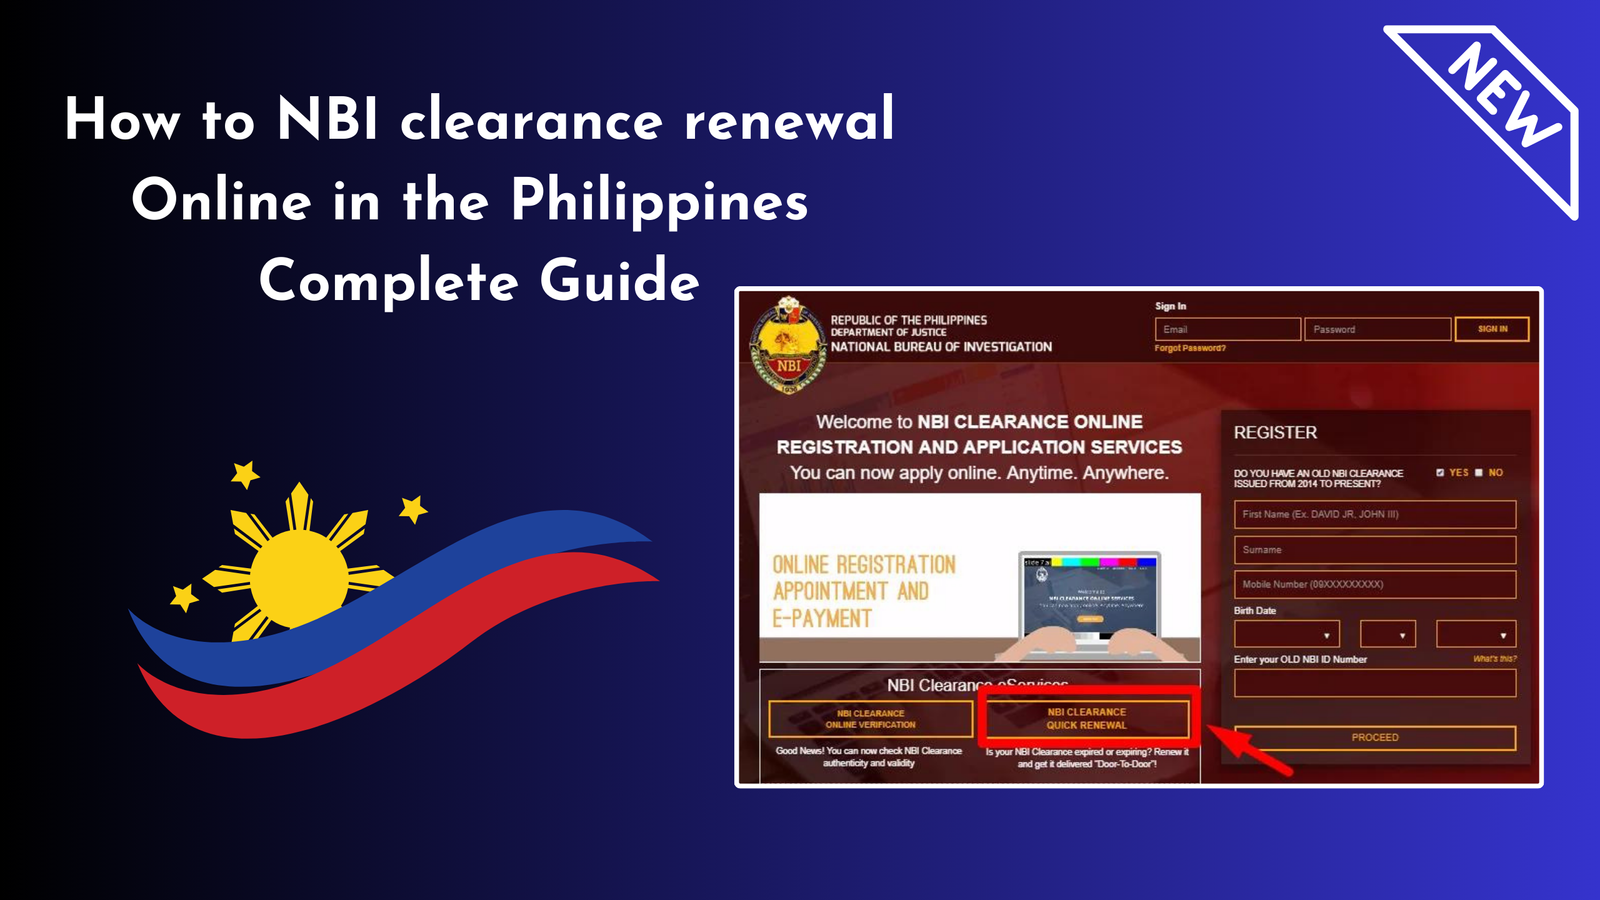
- Visit the NBI Clearance Website: Start by heading to the official NBI Clearance website. This is where you’ll fill out your application form and schedule your appointment.
- Create an Account: If you’re a first-time applicant, you’ll need to create an account. For those renewing their clearance, simply log in with your existing details.
- Fill Out the Application Form: Provide all the necessary personal information, including your full name, address, and date of birth. Double-check everything to avoid errors.
- Select the Type of Clearance You Need: Depending on your purpose (e.g., local employment, travel abroad), choose the appropriate type of clearance.
- Pay the Application Fee: After completing the form, you’ll be prompted to pay the application fee. Various payment options are available, including over-the-counter at banks, through payment centers, or online via e-wallets.
- Save Your Reference Number: After payment, you’ll receive a reference number. Keep this handy as it will be used to schedule your appointment and track your application.
Requirements for Schedule NBI Clearance Appointment:
Before you head to your appointment, make sure you have the following:
- Valid ID: Bring at least one government-issued ID (e.g., passport, driver’s license, voter’s ID).
- Appointment Confirmation: A printed or digital copy of your appointment schedule.
- Proof of Payment: Bring your payment receipt, just in case it’s required for verification.
- Personal Details: Have your reference number and any other necessary documents handy.
What to Expect During the NBI Clearance Appointment?
When you arrive at the NBI office, expect the following steps:
- Verification: Present your appointment confirmation and valid ID for verification.
- Biometrics Capture: Your fingerprints and photo will be taken as part of the clearance process.
- Data Encoding: Your personal details will be encoded into the NBI system.
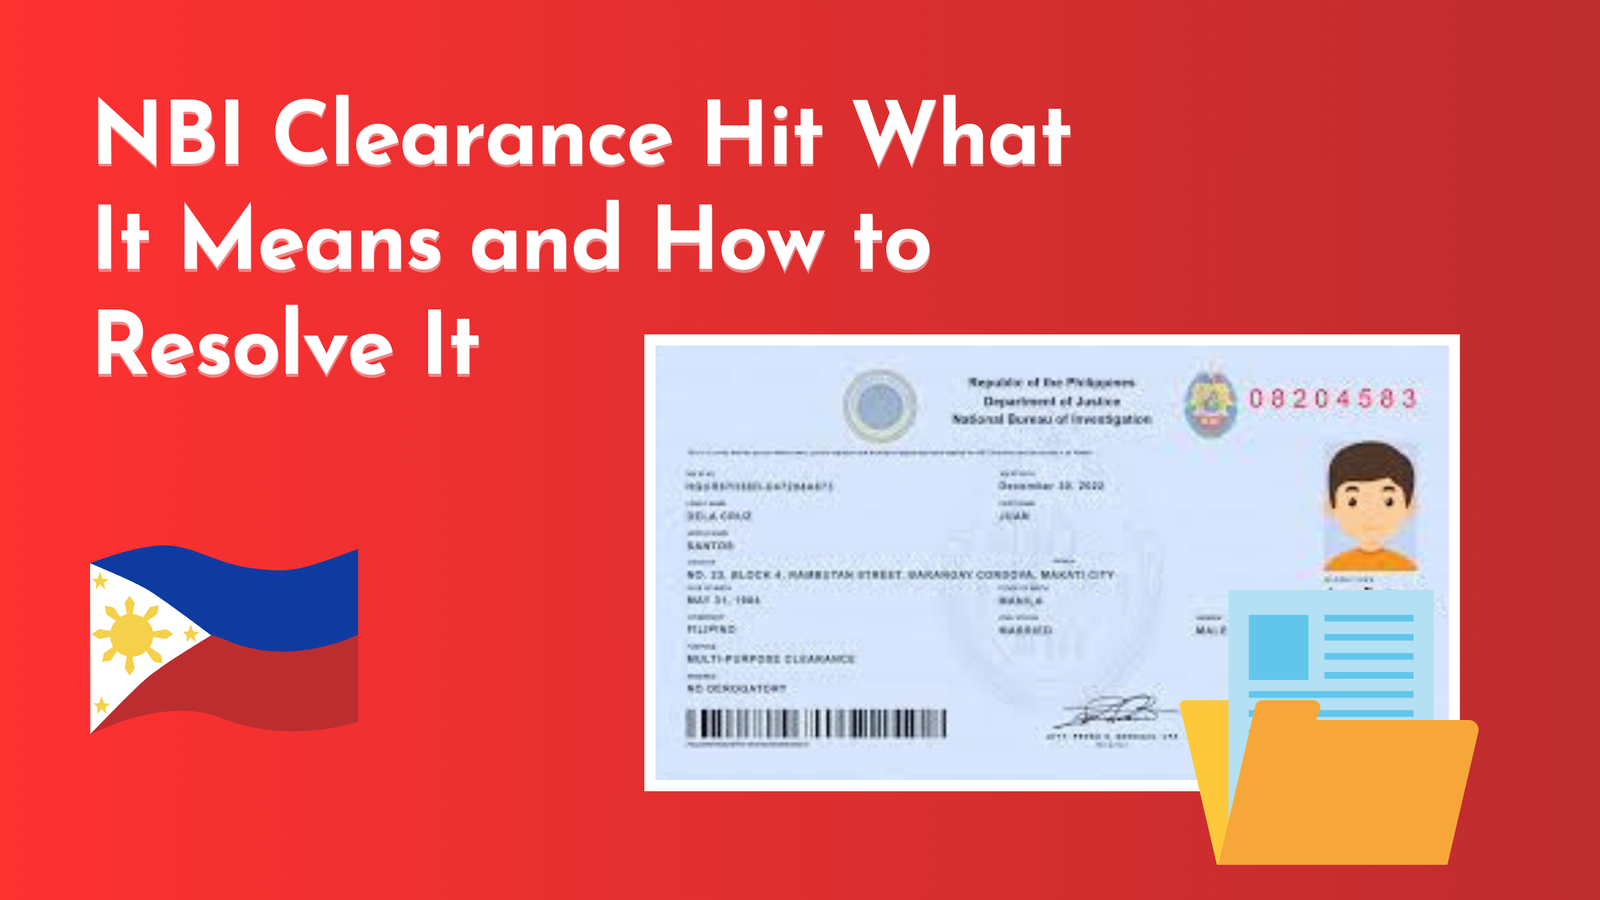
- Clearance Issuance: If there are no issues (like a “hit” where your name matches a criminal record), you’ll receive your clearance the same day.
How Long Does the NBI Clearance Appointment Take?
The entire appointment process usually takes about 30 minutes to an hour, depending on the number of applicants at the NBI branch. If there’s a “hit,” where your name matches someone in the criminal database, it might take a few more days for further verification.
What to Do After the Schedule NBI Clearance Appointment?
After your appointment, if you received your NBI Clearance, make sure to store it in a safe place. If you’re using it for a job application, visa, or other legal transactions, make copies. If there’s a delay due to a “hit,” keep track of any updates from the NBI office.
FAQs :
- Can I reschedule my NBI Clearance appointment?
Yes, you can reschedule, but it’s subject to availability. You may need to go through the scheduling process again. - What if I miss my appointment?
If you miss your appointment, you’ll need to reschedule, and your payment may still be valid for a certain period. - Can I walk in without an appointment?
Most NBI branches require an appointment, but some may allow walk-ins. It’s best to check the specific branch’s policy.
Conclusion :
Scheduling an NBI Clearance appointment is a crucial step in securing this important document. By following the steps outlined in this guide, you can make the process smooth and hassle-free. Remember to prepare all necessary documents and show up on time for your appointment. With your NBI Clearance in hand, you’ll be ready to tackle your next big opportunity, whether it’s a new job, a visa application, or another important milestone.
To book an appointment for NBI Clearance in the Philippines:
1. Visit the NBI Clearance Website: Go to [clearance.nbi.gov.ph](https://clearance.nbi.gov.ph).
2. Sign Up or Log In: Create an account or log in if you already have one.
3. Fill Out the Form: Provide your personal information and details.
4. Set an Appointment: Choose your preferred NBI branch, date, and time.
5. Pay the Fee: Complete the payment through the available options and keep the reference number.
6. Go to the Appointment: Bring the reference number and a valid ID on your scheduled date.
How To schedule meeting for nbi clearance Philippines?
To schedule a meeting (appointment) for NBI Clearance in the Philippines:
1. Go to the official NBI Clearance website [https://clearance.nbi.gov.ph](https://clearance.nbi.gov.ph)
2. Register or log in using your email address.
3. Fill out the online application form with your personal details.
4. Choose your preferred appointment date, time, and NBI branch**.
5. Select your payment option, pay the fee, and keep the reference number.
6. On your appointment day, go to the selected NBI branch with valid ID and your reference number.
That’s it!